The Brux Night Guard is made with two different materials that work together to provide a durable outer shell with a boil and bite inner tray that is molded for a comfortable and secure fit. If your first attempt at molding doesn't provide a fit that feels right, it can be remolded again following the same instructions. The Brux Night Guard is designed to be worn on the TOP or BOTTOM teeth depending on your preference. DO NOT use the Brux Night Guard if you have missing teeth or wear braces, caps, implants, dentures, retainers or other external surface devices.
DO NOT use the Brux Night Guard if you wear braces or have dentures.
Brush your teeth to remove any food items that might get embedded into the mouth guard before beginning the molding process.
Items Needed For Molding
- Small pot of water and stove
- Spoon
- Stopwatch
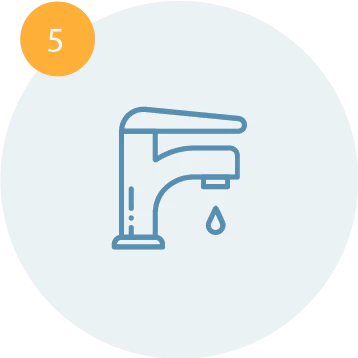
- Tap water faucet
- Mirror
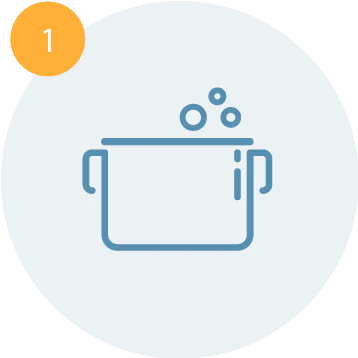
Fill a small pot with at least 4-inches of water and bring to a boil on the stove. When the water is bubbling and reaches a full boil, you are ready to begin.
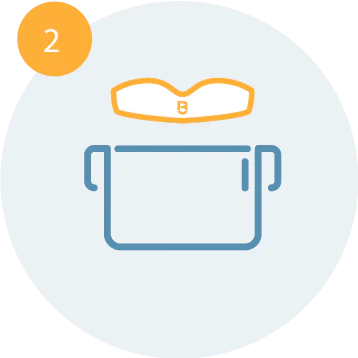
Place your Brux Night Guard into the boiling water. The water should remain boiling until you remove the mouth guard.

Start your timer or stopwatch. Most cellphones have a stopwatch or timer.
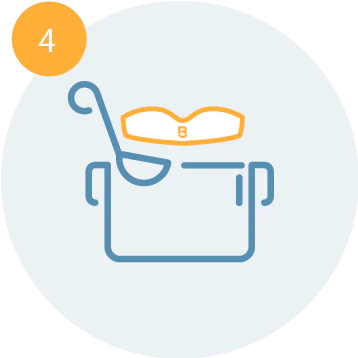
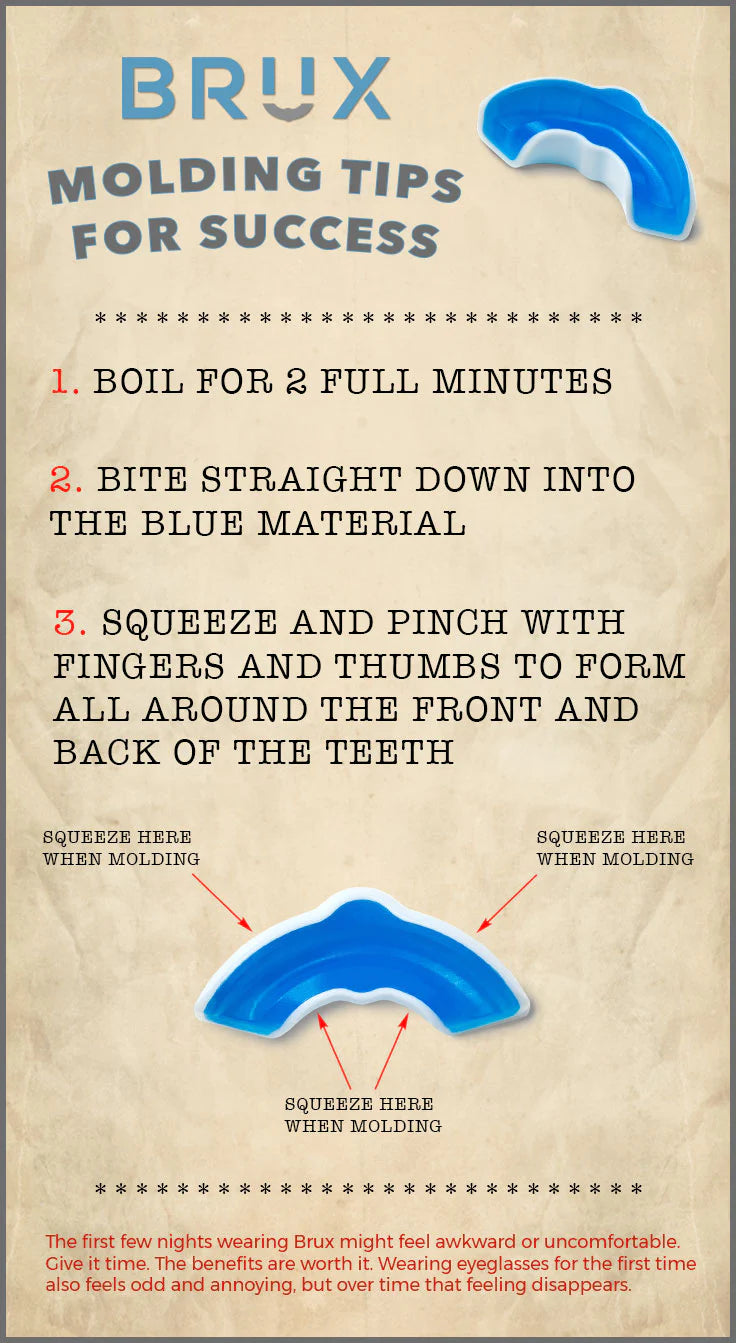
After two full minutes of boiling, remove the mouth guard from the water using the spoon.
(YOU MUST BOIL FOR 2 MINUTES)
Hold the mouth guard under cold running tap water for 5 seconds.
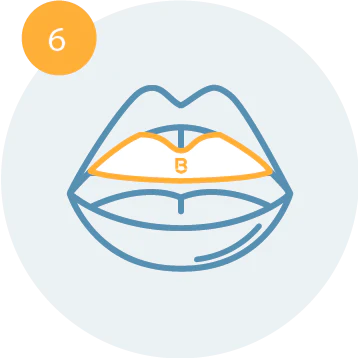
Using the mirror to ensure proper alignment, place the mouth guard over your teeth and bite down HARD. Your teeth should easily sink into the boil and bite material. It can be molded to the top or bottom teeth. If your bottom teeth are short, it would be best to mold on the top teeth.
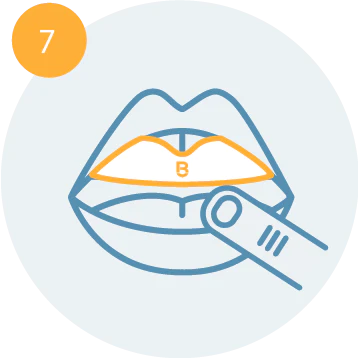
Continue to bite down while using your thumb and fingers to push against the front and back sides to ensure a snug fit on all sides. You can also suck hard to create a vacuum between your teeth and mouth guard.
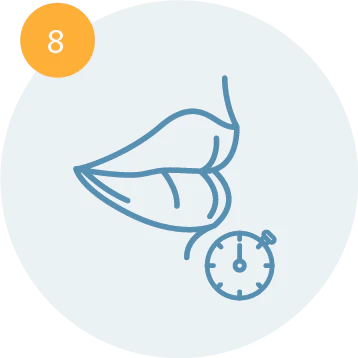
Leave the mouth guard in your mouth for at least 60 seconds. After that, remove and rinse in cool water.
Place the mouth guard back over your teeth to make sure the fit is snug and feels good, but not loose. If you did not get a good fit, repeat steps 1 through 8 again. Remolding a second time often results in a better fit.
How To Mold Your Brux
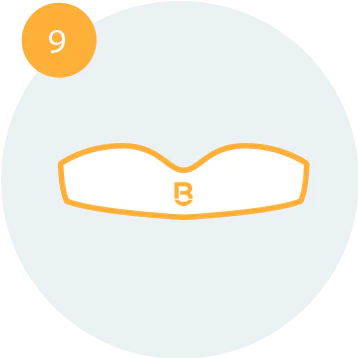
Universal Fit Allows You to Mold on the Top or Bottom Teeth
Brux Night Guard Tips
Wearing Your Brux
Most people report it's a weird feeling to sleep with a mouth guard at first and some even describe it as uncomfortable and difficult. Like anything new, it will probably take some time to get used to, BUT IT IS WORTH IT TO GIVE IT SOME TIME. If you've ever worn eyeglasses or contact lenses for the first time, you'll understand. New eyeglasses and contact wearers frequently have itchy eyes, headaches or pain on the bridge of the nose. Over time, the wearer adjusts and in the span of several weeks or days, they become comfortable with the new devices and attain the goal of better eyesight.
Molding Your Brux
Most people have similar sized mouths but they can have dramatically different teeth sizes and patterns. The Brux mouth guard for teeth grinding is moldable either on the top or bottom teeth and can be done at home in boiling water to ensure a proper fit with each person's teeth and wear patterns.
Caring For Your Brux
Properly cleaning and caring for your Brux Night Guard will give you years of use.
Click here for full cleaning and care instructions.